This guide provides step-by-step instructions on how to set up a new location within your ERP system. Establishing accurate locations is essential for tracking stock levels, managing transfers, and maintaining an organized warehouse in Inventory module.
Location is also used in HR modules to locate the employee locations.
Navigation: left side menu → Setup → Locations
¶ 2. Field Definitions
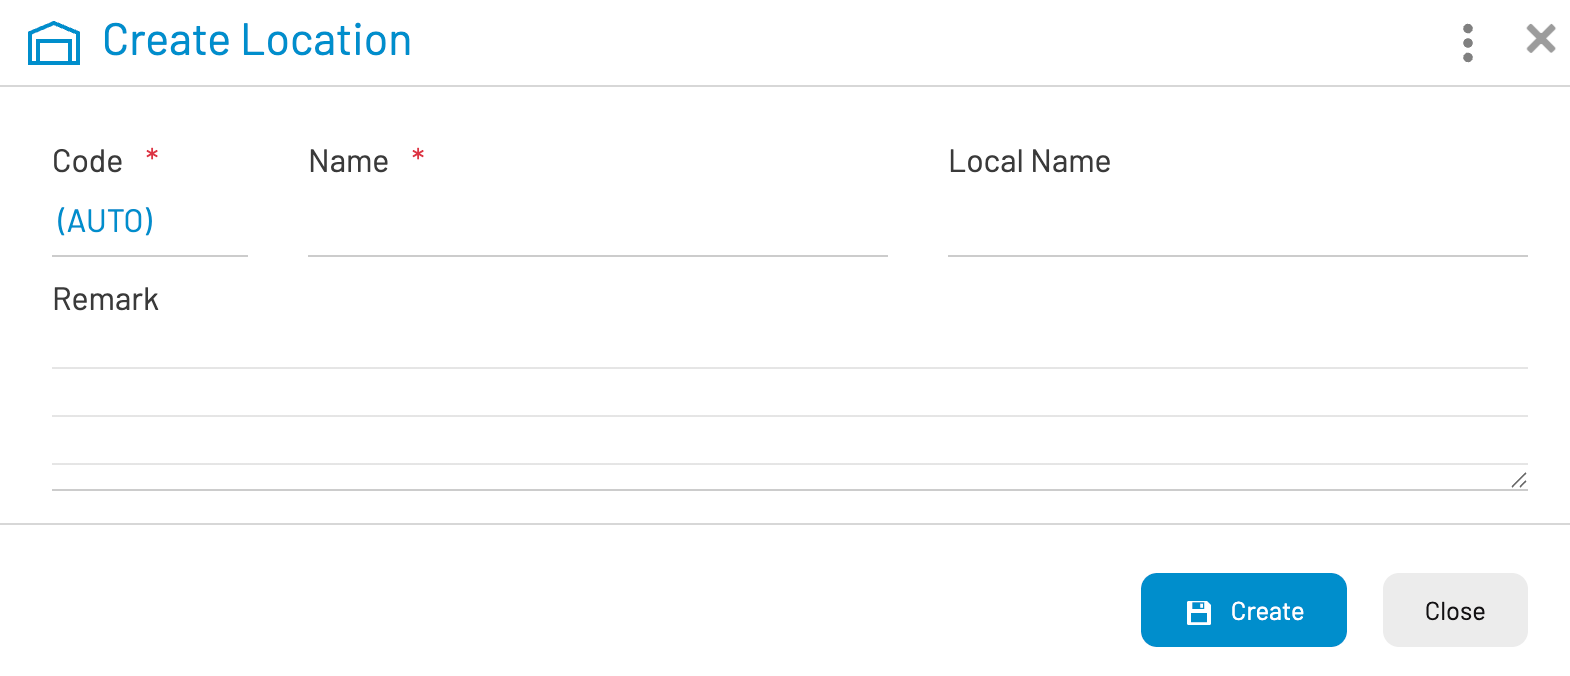
The creation form contains several key fields. Fields marked with a red asterisk (*) are mandatory.
| Field Name | Description | Requirement |
|---|---|---|
| Code | A unique identifier for the location. This defaults to (AUTO), meaning the system will generate a sequential ID upon saving. | Mandatory (Auto-filled) |
| Name | The primary descriptive name of the location (e.g., "Main Warehouse," "Aisle 4," or "Loading Dock"). | Mandatory |
| Local Name | An optional field for the name in a secondary language or a specific internal nickname used by local staff. | Optional |
| Remark | A multi-line text area for additional notes, such as specific storage instructions or access restrictions. | Optional |
¶ 3. Step-by-Step Instructions
Step 1: Enter the Location Name
Click into the Name field and type the official name of the area. Be as specific as possible to avoid confusion during picking and packing.
Step 2: Add Optional Details
If your team uses a local dialect or specific internal shorthand, enter it in the Local Name field.
Use the Remark field to note anything unique about this location (e.g., "Temperature controlled" or "Hazardous materials only").
Step 3: Save the Location
Review the information for accuracy. Click the Create button (blue button with the disk icon) to save the new location to the database.
Step 4: Close the Window
If you have finished adding locations, click the Close button to return to the main dashboard.