This guide explains how to manage floors, tables, and the overall dining area layout within your POS system.
¶ 1. Accessing Layout Edit Mode
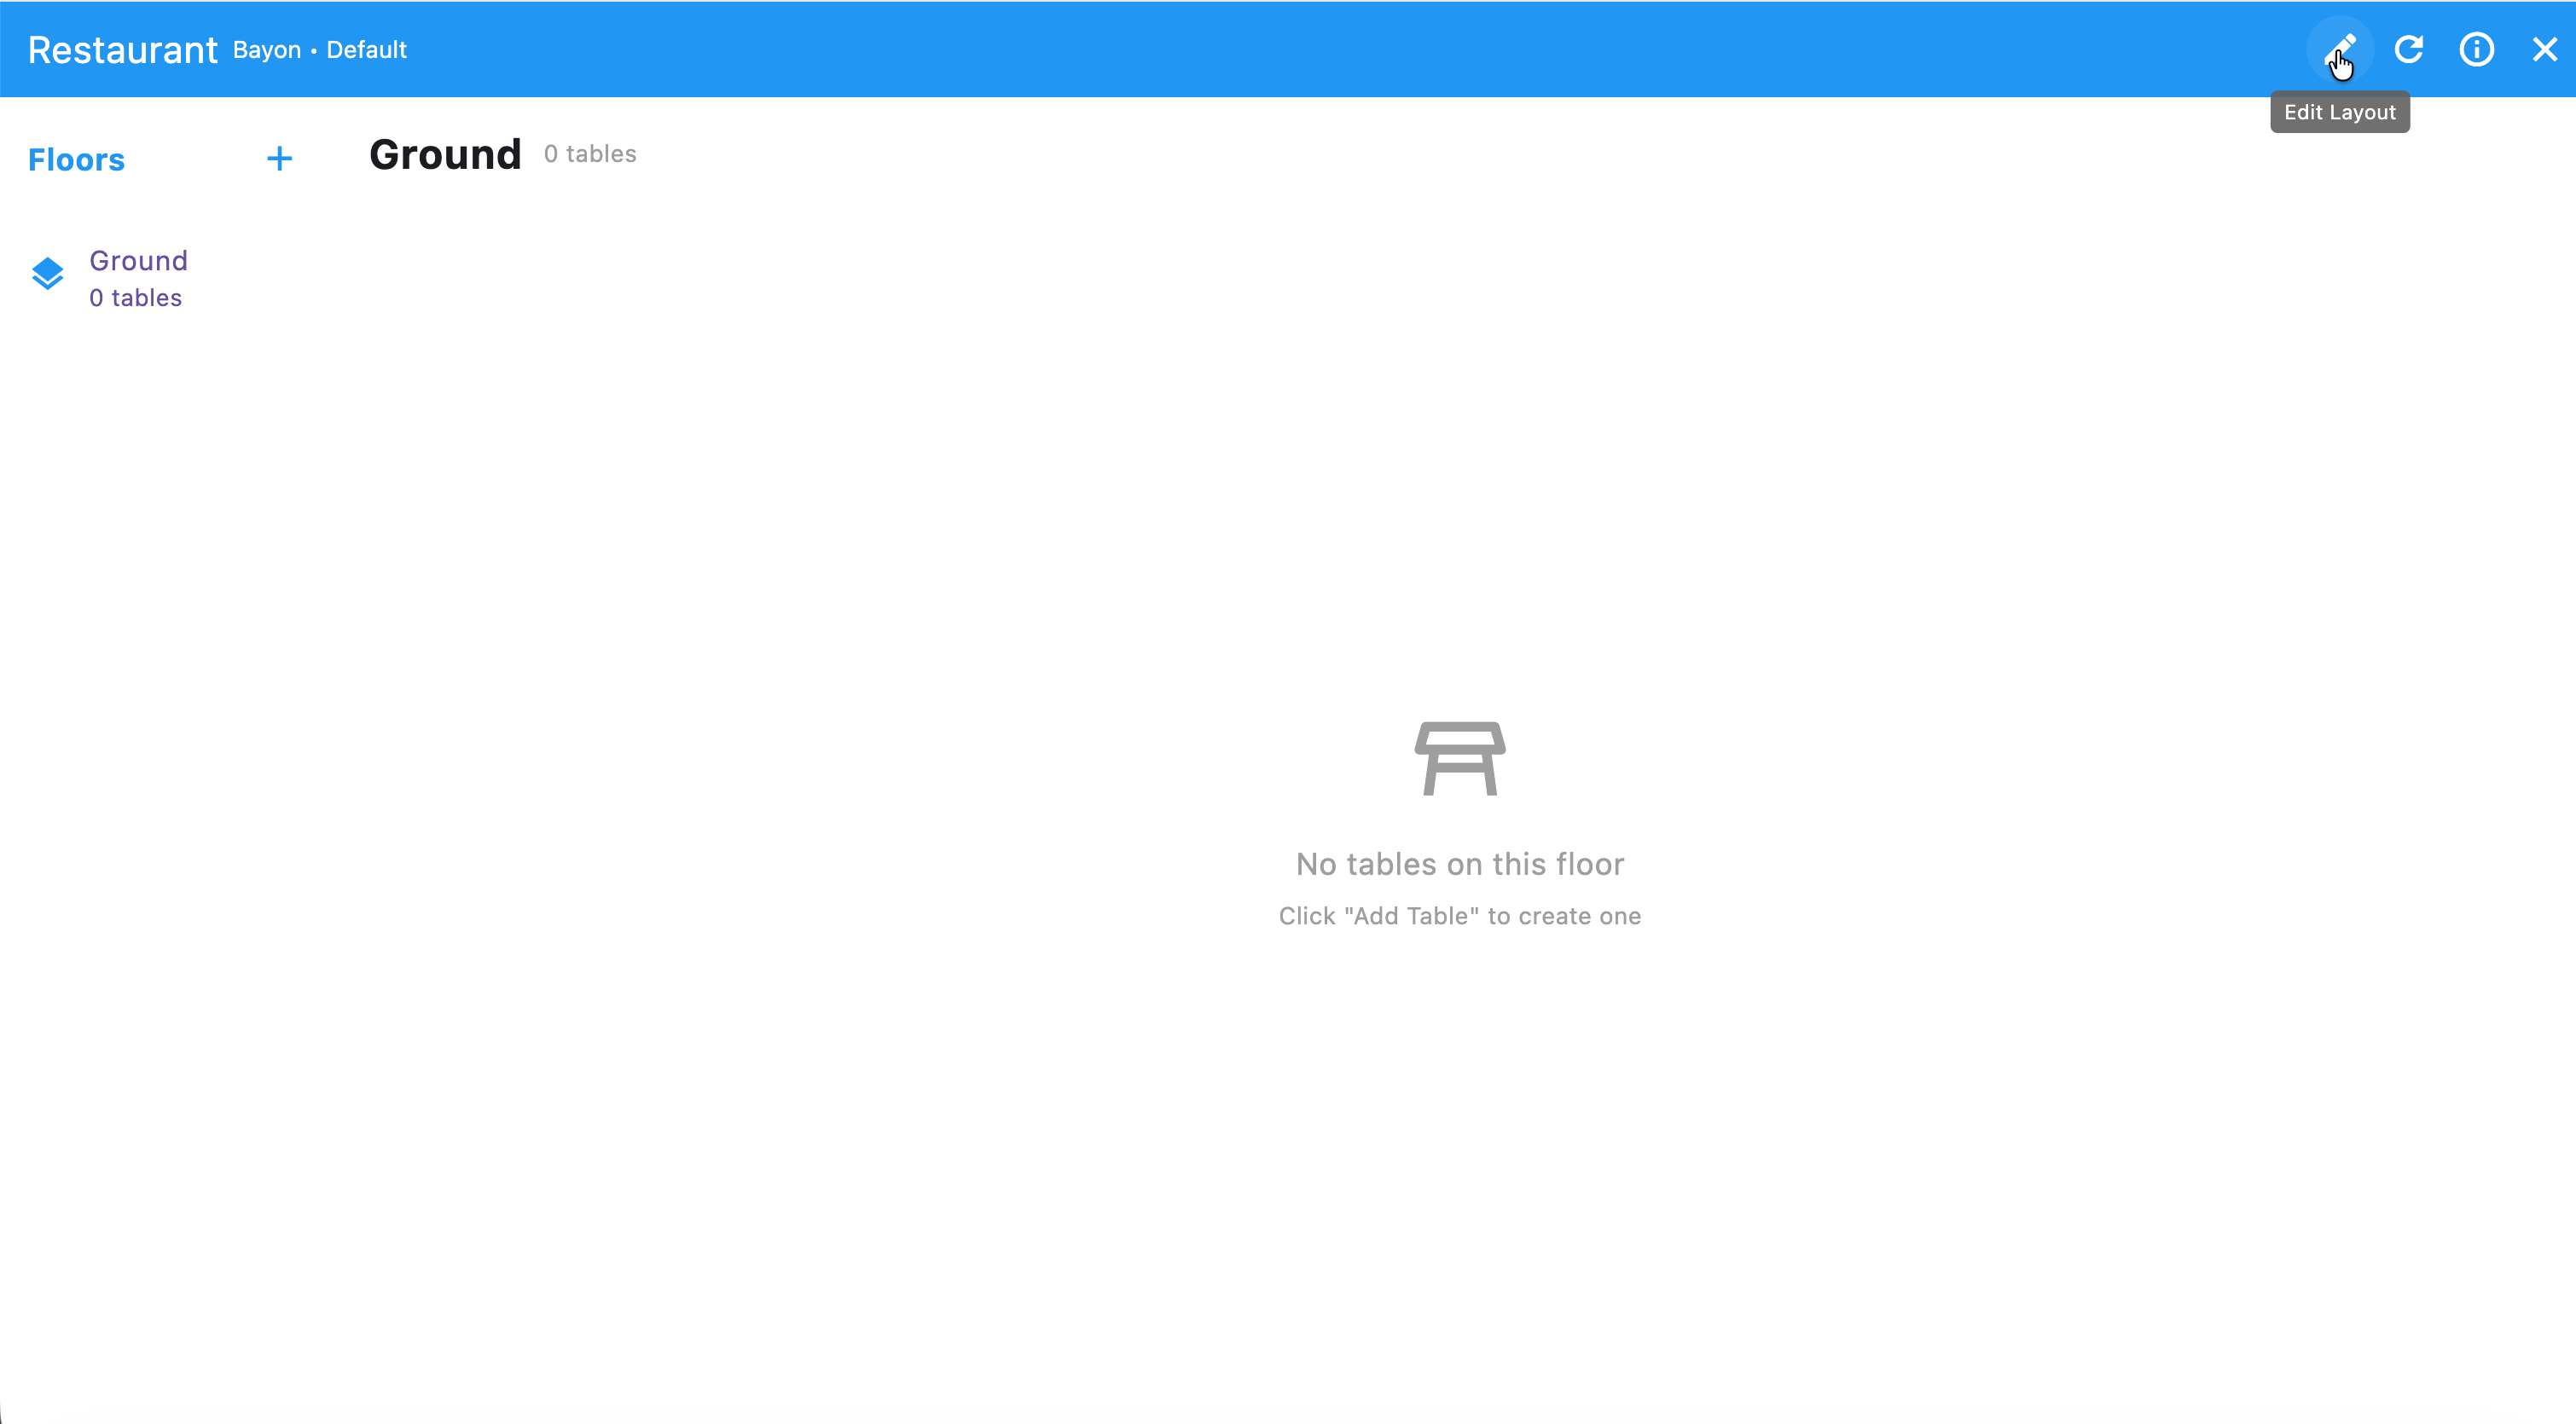
Before you can add or move floors and tables, you must enter the Edit Layout mode.

Look for the "Edit Layout" icon (which looks like a shared icon or link icon with a pencil) in the top-right corner of the main layout screen.
Click the "Edit Layout" icon. Once you are in edit mode, the available options for managing floors and tables will appear, and you will see a different set of action icons (like a checkmark to close the Edit mode) at the top right.
¶ 2. Managing Floors
Floors allow you to organize your dining area, especially for multi-level restaurants or different zones (e.g., Patio, Bar).
¶ A. Adding a New Floor
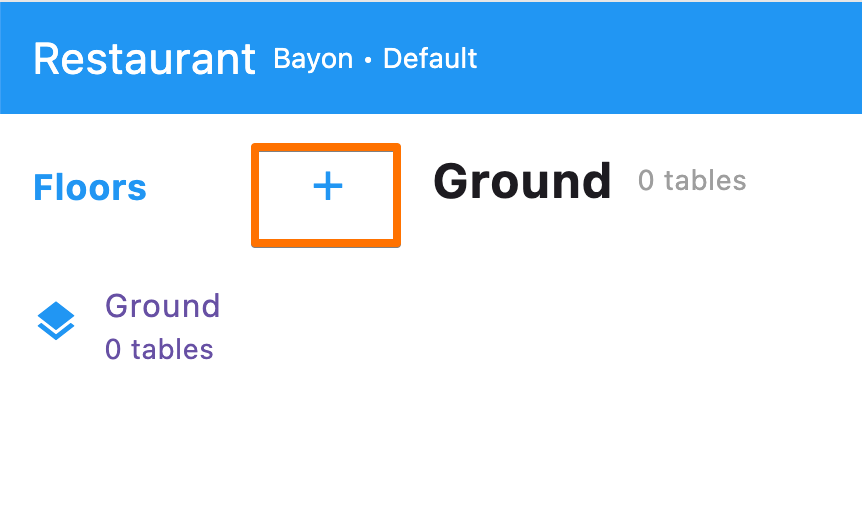
In Edit Layout mode, look for the "Floors" section on the left side of the screen.
Click the plus sign (+) next to the word "Floors" (or next to the current floor name).
A "Create New Floor" pop-up window will appear.
Enter the desired Floor Name (e.g., "1st Floor," "Patio," "Balcony").
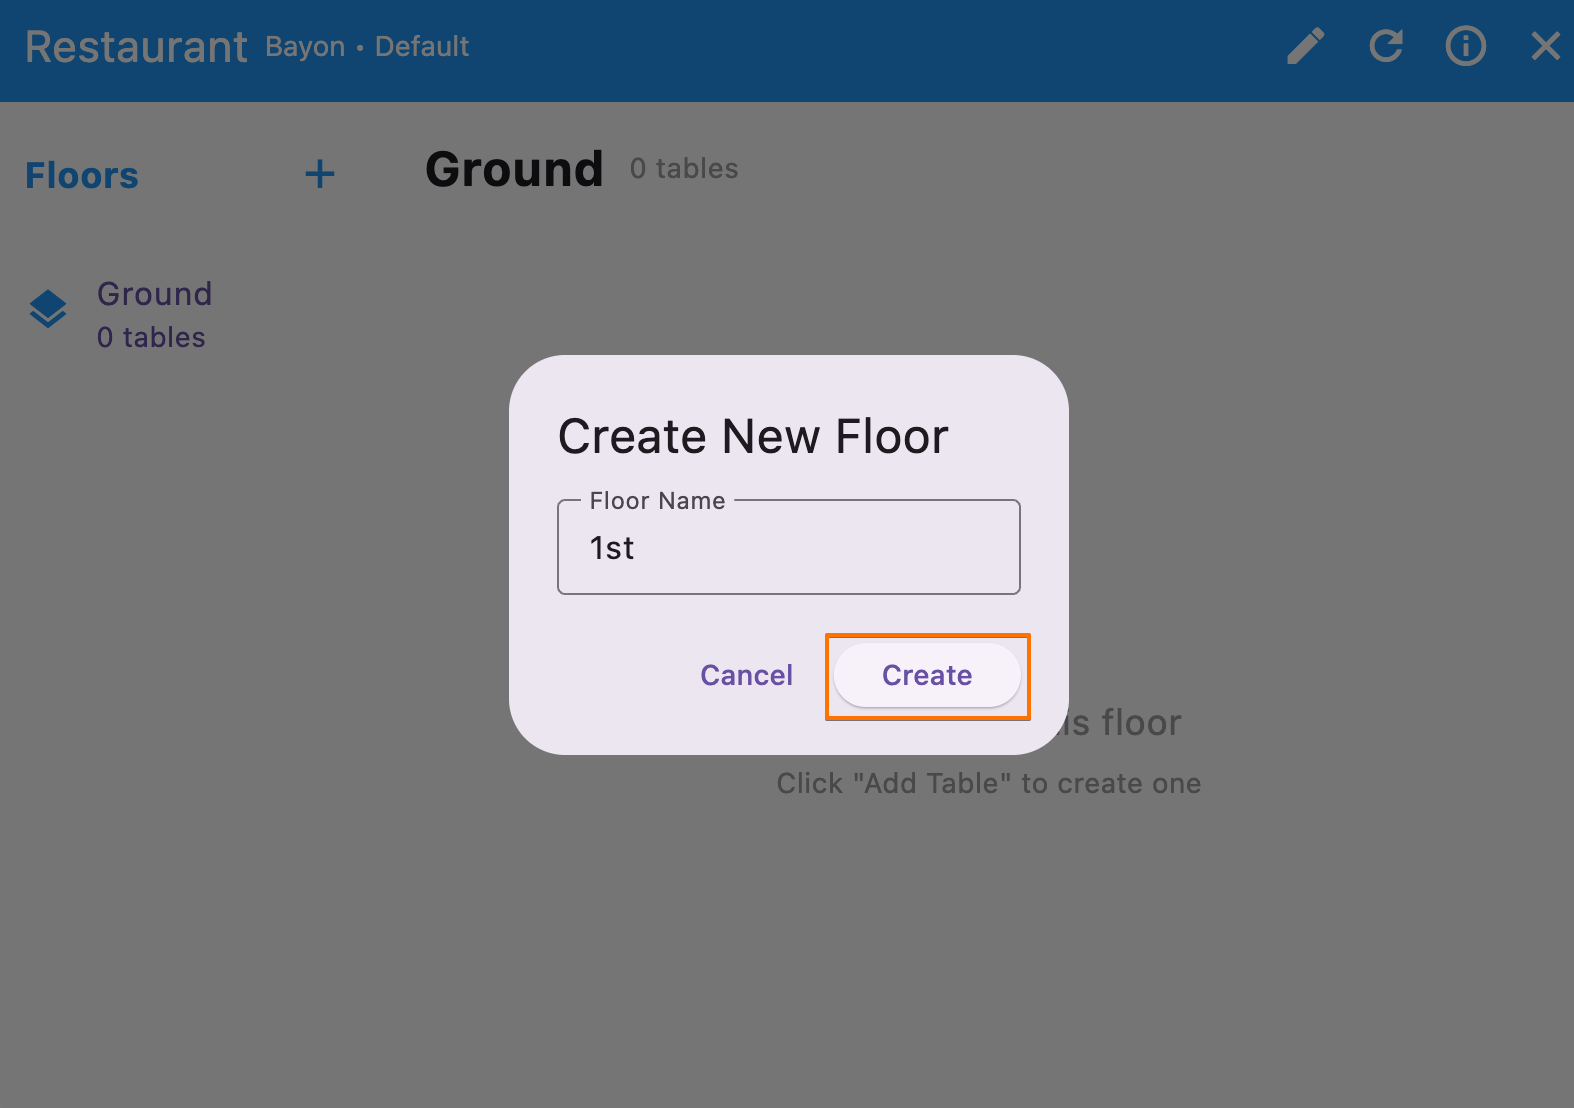
Click the "Create" button to add the new floor.
¶ B. Switching Floors
To view or edit the layout of a specific floor, simply click on the floor name listed in the "Floors" section on the left.
¶ 3. Managing Tables
Tables are the individual dining units on each floor that staff will use for order taking and check processing.
¶ A. Adding a New Table
Ensure you are in Edit Layout mode and have the correct floor selected.
Click the "Add Table" button, which is usually located in the top-right area of the screen.
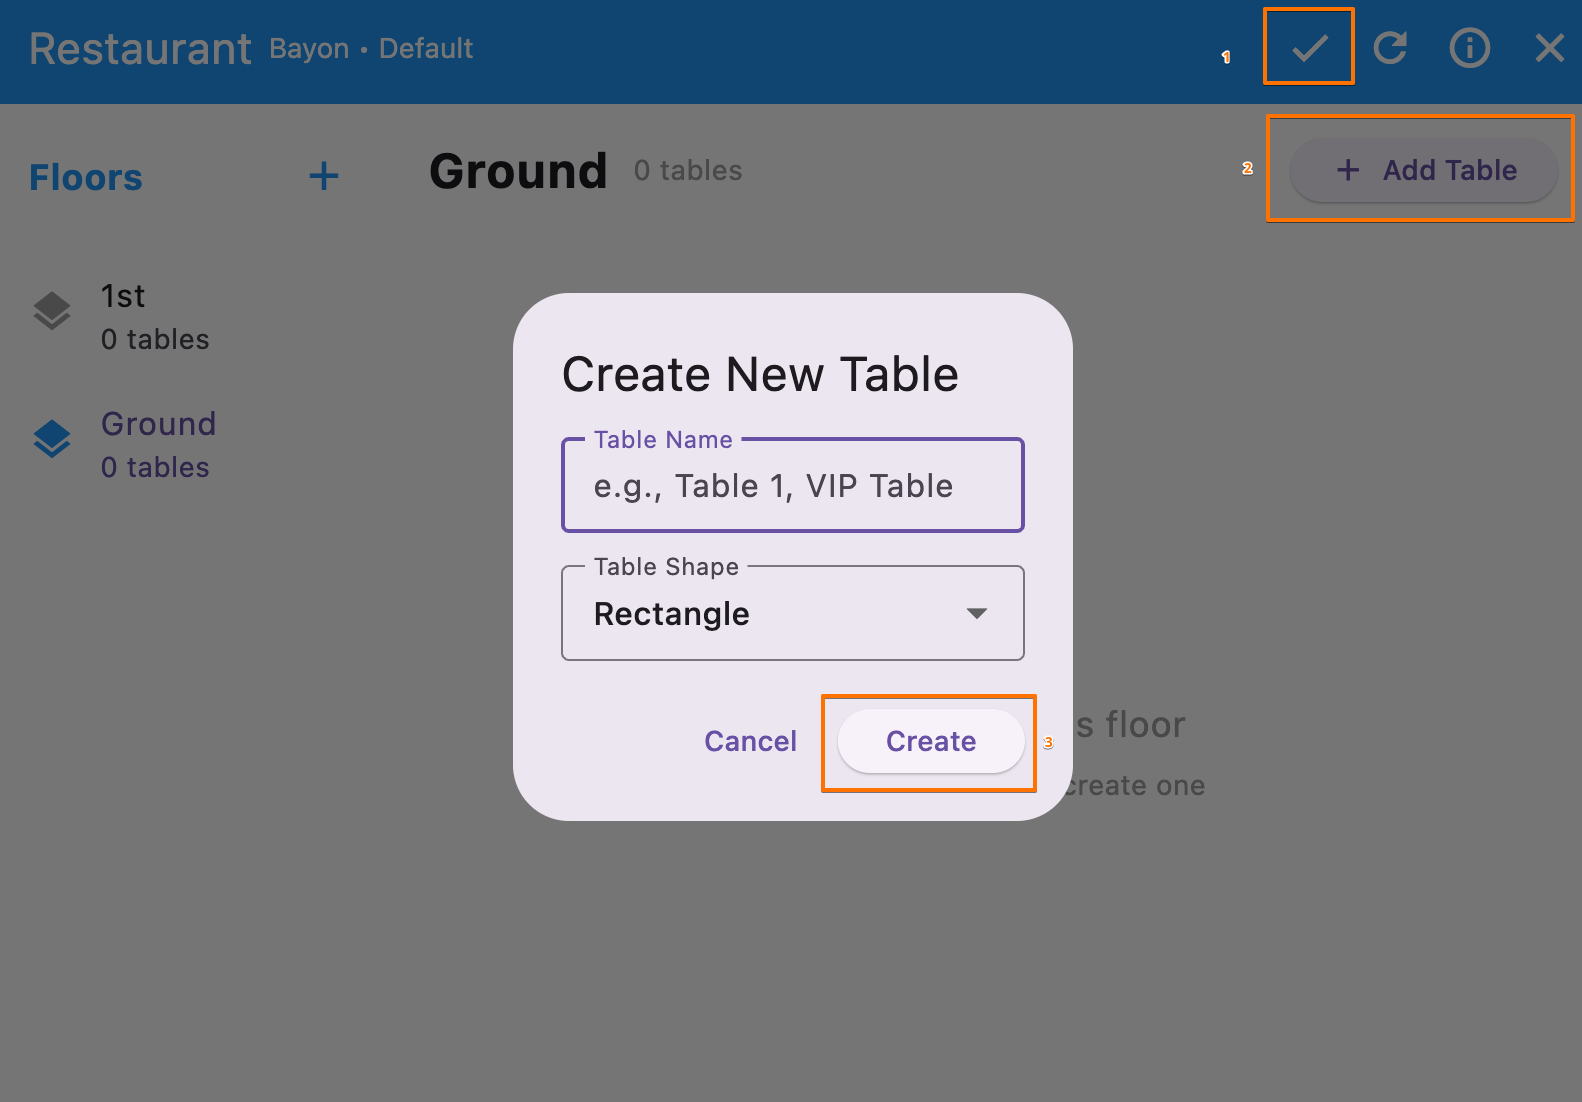
A "Create New Table" pop-up window will appear.
Enter the Table Name (e.g., "Table 1," "Booth 5," "VIP Table").
Select the Table Shape from the dropdown menu (e.g., "Rectangle", “Circle”).
Click the "Create" button. The new table will appear on the floor layout.
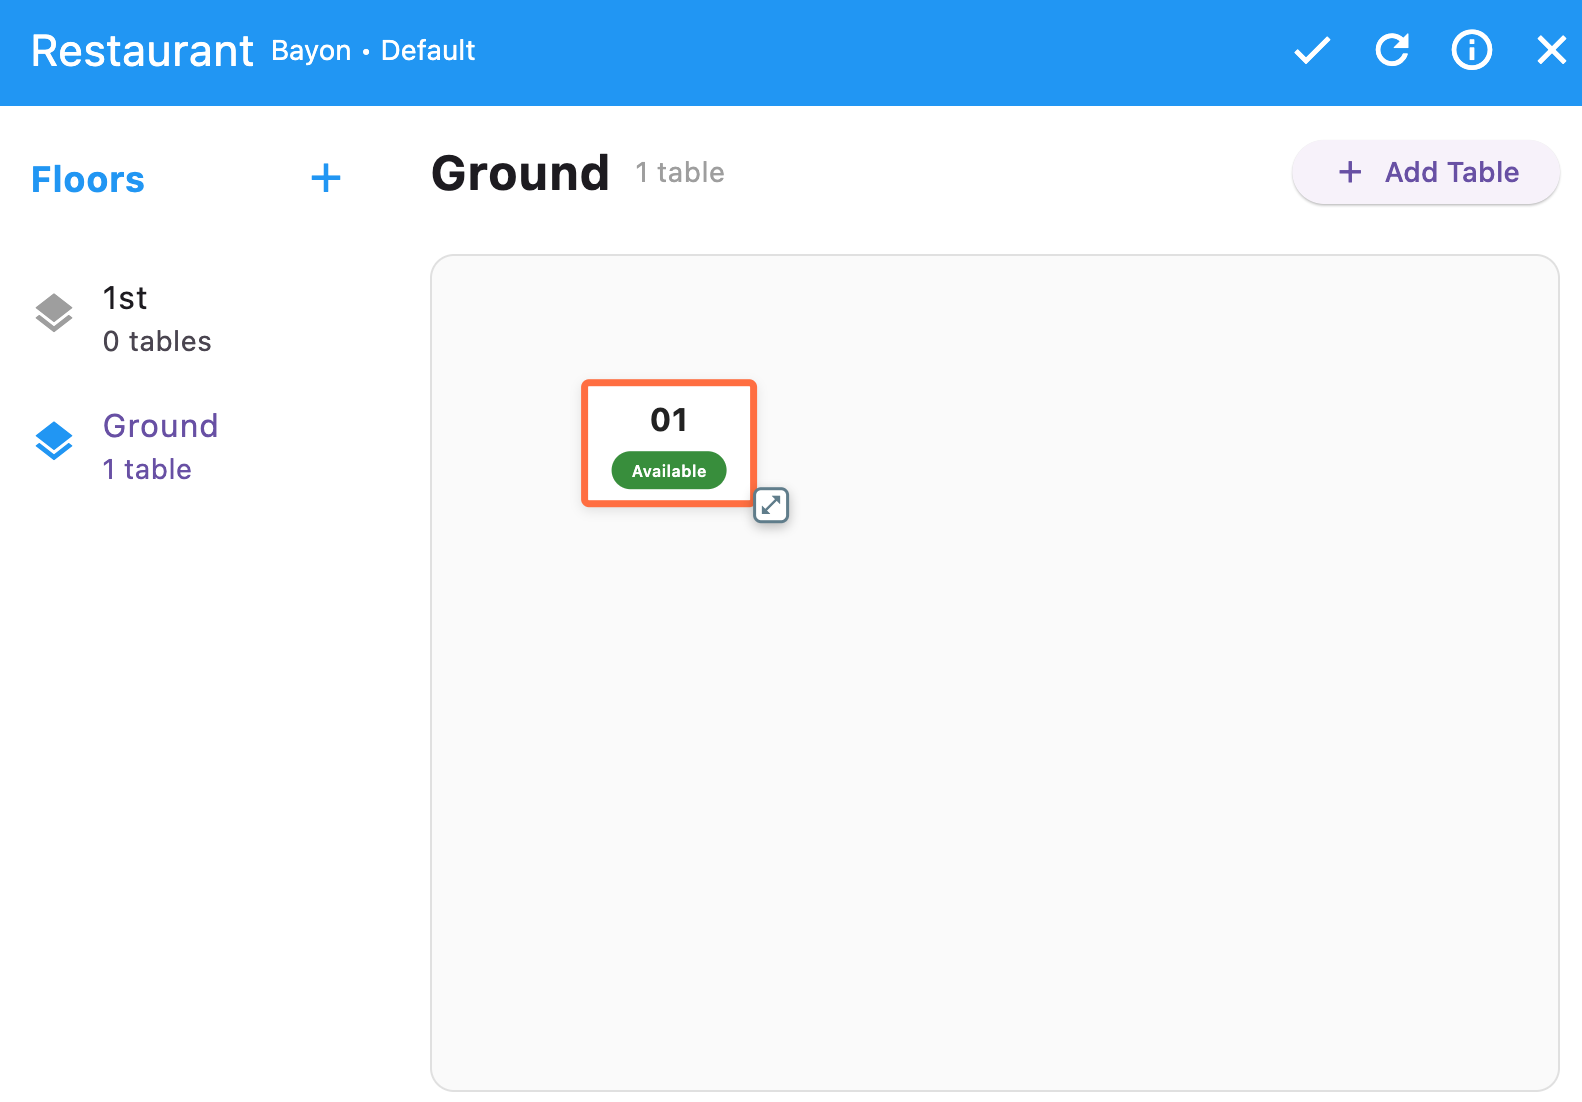
¶ B. Moving and Resizing Tables
While still in Edit Layout mode, click and drag the table icon on the layout canvas to move it to the desired position.
To resize the table, look for the resize handle (usually a small icon, possibly two arrows, in the corner of the table).
Click and drag the resize handle to adjust the table's size.
¶ 4. Saving Your Layout Changes
Once you have finished adding and arranging your floors and tables:
Look for the checkmark icon (often indicating "Done") in the top-right corner of the screen and click to return the operation mode.
Next: Sale operation for Restaurant